Creating a New Project
In the ROSVITA main development environment, by clicking on the blue-highlighted Xamla icon in the upper left corner, a selection bar appears, in which you select the menu item New Project. Alternatively, you can also click on New Project directly in the middle of the start screen. A text box appears in which you can enter the desired name of the project (see Fig. 2.1).
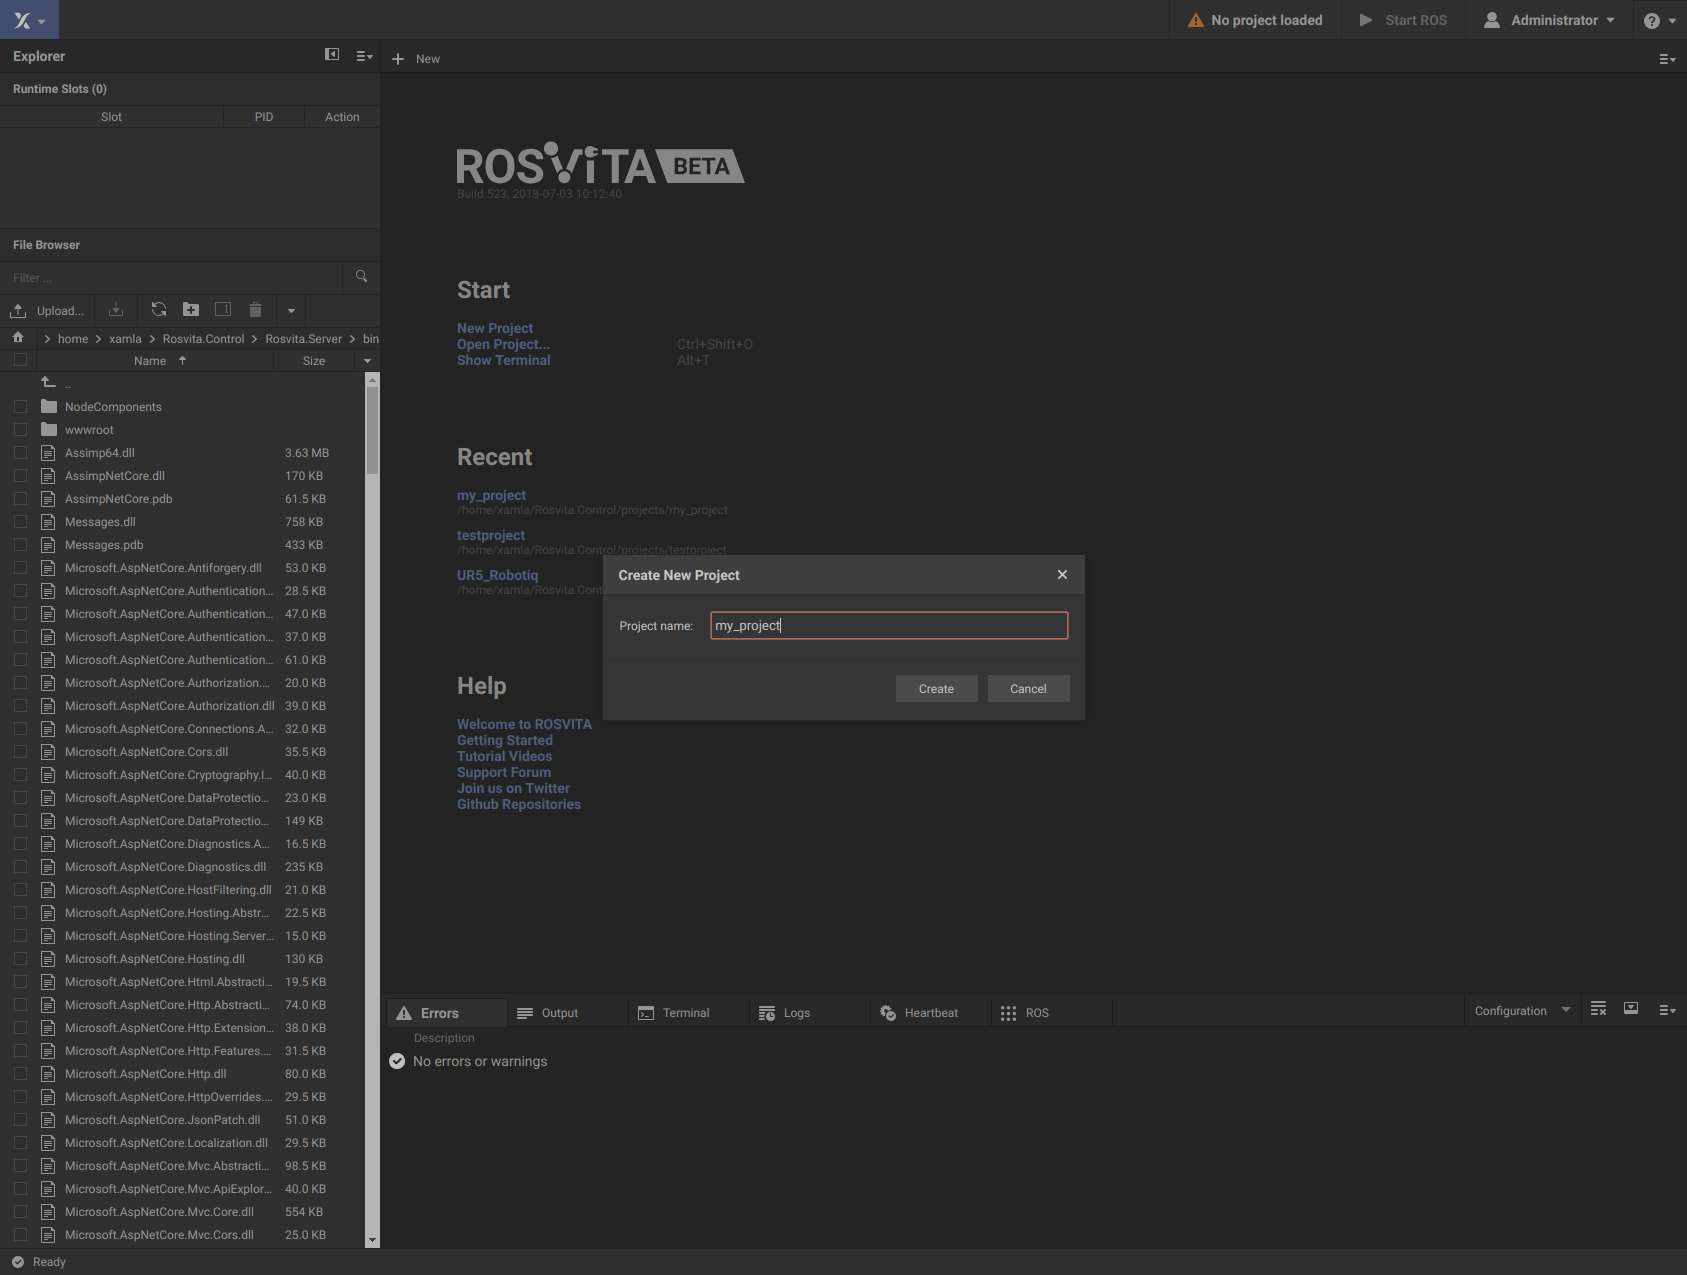
Figure 2.1 Creation of a new project.
Note
Enter a name without a path here, as the path under which the project is saved is already specified in the ROSVITA start script.
After clicking on the Create button, the project is created and opened in the Configuration View of ROSVITA. Moreover, the project folder is opened in the integrated file browser on the left.
On your local host machine, you will find the project folder you just created under the path /home/<username>/Rosvita/projects/.
So far it contains only empty folders or files with empty structures that will be filled later on (see Fig. 2.2).
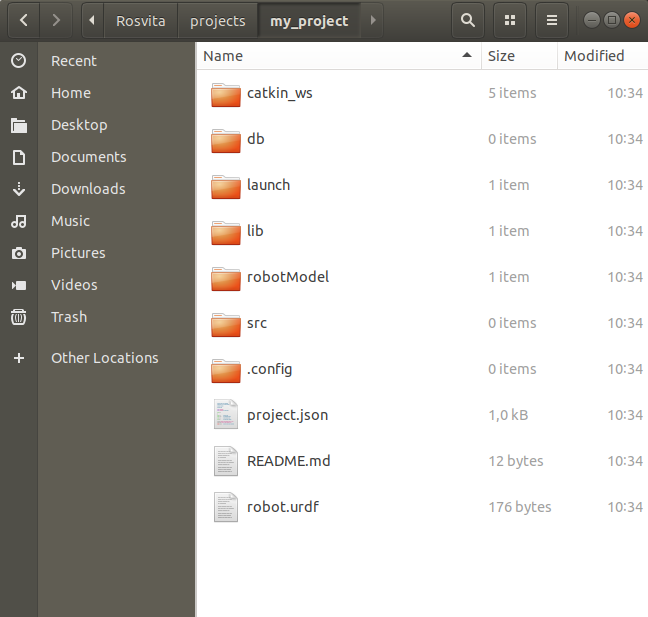
Figure 2.2 Content of the newly created project folder.
Now, we are ready for creating a new robot configuration within our just created project.